How to photograph a meal so a calorie app gets it right
· Viral Tandel
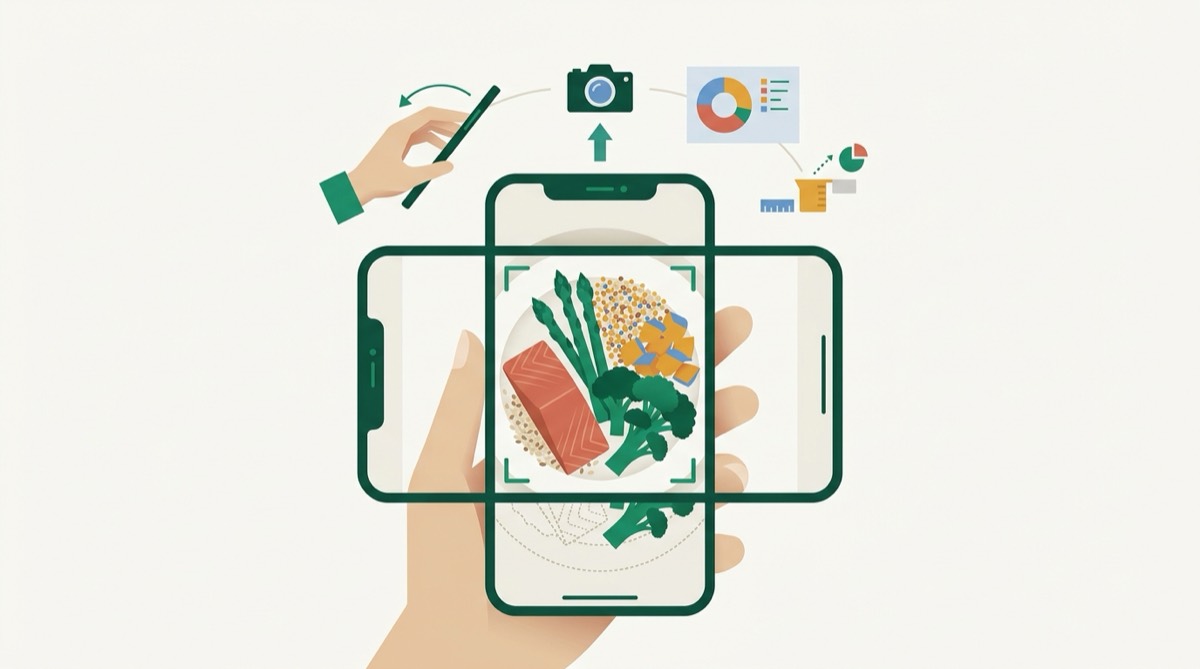
A calorie app can only work with what is actually in the frame. Learning how to photograph food for a calorie app so the estimate starts closer to right comes down to a handful of habits, not a better camera. None of this fixes an estimate completely; nothing does. It removes the mistakes that are easiest to avoid, so the harder ones are the only ones left to correct.
Key takeaways
- Shoot at roughly a 45-degree angle. Straight overhead throws away depth; straight from the side hides the far half of the plate.
- Put one object with a known size in the frame, a fork, a standard mug, your hand. It gives the estimate something to judge scale against.
- Photograph the meal before you stir, pour or mix anything. Once a sauce is folded in, no camera can see what is underneath it.
- Fill the frame and use even light. A cropped or badly lit photo removes information the estimate needs, not just detail from the picture.
- None of this replaces a barcode or a nutrition label. Where one exists, it beats a photo estimate outright.
Find roughly 45 degrees
Straight overhead is the angle most people reach for, and it is close to the worst choice. It shows the top surface of the plate and nothing about how deep the food is piled, so a thin layer of rice and a tall mound of it can look identical from above. Shooting flat from the side has the opposite problem: it hides whatever is behind the front of the plate entirely.
About 45 degrees, roughly what you would see leaning over your own plate to take a bite, gives an app both the surface area and a sense of height in one shot. You do not need to measure the angle. Tilt your phone until you can see the top of the food and a bit of the side of the plate at the same time, and you are close enough.
Give it something to measure against
A photograph has no built-in sense of scale. Without a reference object, a dinner plate in frame could reasonably be 22 centimeters across or 28, and that difference alone changes the apparent volume of everything on it by a wide margin. Serving size estimation errors covers how much a wrong size assumption alone can move a final number, and it is more than most people expect.
A fork, a standard mug, or your own hand at the edge of the frame fixes that. Any object whose rough size is predictable gives the estimate an anchor. Using the same object each time is not required, but it helps you eyeball your own plates over time too.
Shoot before you mix
This is the single highest-leverage habit, and the easiest one to forget. Curry poured over rice, dressing tossed through a salad, cheese melted into a sauce: once any of these are combined, no camera can see what is underneath or how much of it there is. A model has to guess, and a guess about a hidden layer tends to guess low.
Take the photo the moment the plate lands in front of you, before a spoon touches it. If you are portioning something yourself, like a bowl you are building, photograph it after you add each component rather than only at the end. It takes a few extra seconds and it is worth it.
Light and framing, plainly
Even, ordinary light beats a dramatic one. Deep shadow across half a plate hides that half as effectively as a sauce would. You do not need good lighting in an artistic sense, just light that reaches the whole plate.
Fill the frame with the food rather than shooting across a table so the plate is a small part of a wider scene, and avoid zooming in so far that you crop the plate's edge out of the picture. The edge is part of what tells the estimate how big everything inside it is. A slightly messy, well-lit, filled-frame photo will consistently beat a nicely composed dark one.
When something is hidden anyway
Some meals cannot be shot around this. A casserole, a filled sandwich, a wrap: the interior is simply not visible no matter the angle. That is exactly what the two-tap portion correction in a good calorie app is for. If you know there is a fried egg under that toast, or extra cheese folded into that wrap, add it as its own line rather than waiting for the photo to guess it. How accurate are calorie counting apps goes into what these tools can and cannot be expected to see on their own, hidden layers included.
A quick checklist: how to photograph food for a calorie app
- About 45 degrees, not straight overhead.
- One familiar object in the frame for scale.
- Before anything gets mixed, poured or stirred.
- Even light, and the plate filling the frame.
- Correct the portion afterward if it looks off.
None of this makes an estimate perfect, and a well-shot photo still carries a real margin of error. What it does is spend your attention on the genuinely hidden stuff, the oil, the sauce underneath, rather than on a bad angle. The reasons an estimate tends to run low in the first place are covered in why photo calorie estimates run low; this is the practical half of that same argument.
Next time you sit down to eat, try shooting the same meal twice, once straight overhead and once at 45 degrees, and log both in KalTrack to see how much the angle alone changes the number.
This is general information about tracking food, not medical advice. If you are managing a health condition or working to a clinical target, talk to your doctor or a registered dietitian before changing how you eat.
Questions
What is the best angle to photograph food for a calorie app?
Roughly 45 degrees. Straight overhead loses the height of the food, and shooting flat from the side hides whatever is sitting behind the front of the plate.
Does a size reference in the photo actually change the estimate?
Yes. Without something of a known size in frame, a plate could reasonably be 22 or 28 centimeters across, and that difference alone changes the apparent volume by a wide margin.
Should I take the photo before or after mixing my food?
Before. Once a sauce is stirred through rice, or dressing is tossed through a salad, no camera and no app can see what is underneath it.
What if part of my meal is hidden no matter how I shoot it?
Correct the portion after the estimate comes back, or add the hidden item as its own entry if you know what it is. That two-tap correction is the app working as intended, not a failure of the photo.